Submit your business today and get featured on popular local articles & pages.
Steps On How to Clean Your Outside AC Unit
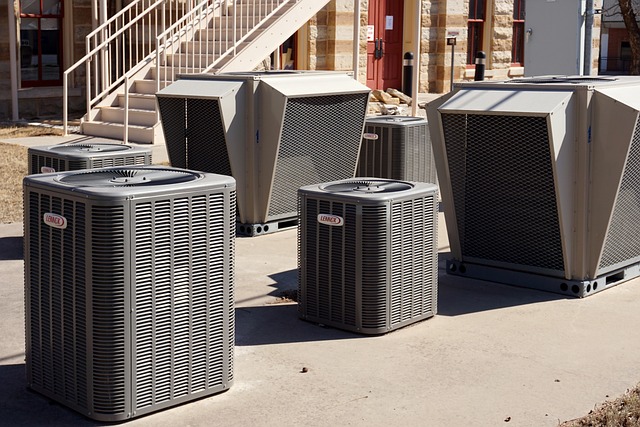
Your outside AC unit plays a vital role in keeping your home cool and comfortable during the hot summer months. To ensure its optimal performance and longevity, regular maintenance is crucial. One essential task is cleaning the outside unit. In this expert guide, we will walk you through the step-by-step process of cleaning your outside AC unit, using best practices and effective techniques.
Step 1: Safety First
Before starting any maintenance or cleaning tasks, it’s important to prioritize safety. Ensure the power to the AC unit is turned off from the circuit breaker to prevent any electrical accidents. Wear appropriate protective gear such as gloves, goggles, and a mask to protect yourself from dust, debris, and any potential allergens. Here are the steps on How to Clean Your Outside AC Unit:
Step 2: Remove Debris
The outside unit is prone to accumulating dirt, leaves, grass, and other debris. Clearing away this debris is crucial to maintain proper airflow and prevent blockages. Start by carefully removing any loose debris by hand or using a soft brush. Take care not to bend or damage the delicate fins or coil.
Step 3: Rinse with Water
Using a garden hose with a spray nozzle, gently rinse the outside unit. Begin by spraying from the top and work your way down, directing the water flow away from electrical components. This will help dislodge any remaining dirt or debris from the fins and coils.
Step 4: Clean the Fins
The fins, which are the delicate metal blades on the outside unit, can become clogged with dirt and debris. To clean them, use a fin comb or a soft brush specifically designed for this purpose. Gently run the fin comb or brush over the fins to straighten them and remove any accumulated debris. If these steps don’t help your AC’s efficiency, you may hire HVAC services to fix the issues.
Step 5: Clean the Coil
The coil is another critical component that requires regular cleaning. You can use a coil cleaner, available at most hardware stores, to effectively remove dirt and grime. Follow the instructions on the cleaner and apply it to the coil, allowing it to sit for the recommended time. Then, rinse the coil thoroughly with water, ensuring all the cleaner is removed. ]
Step 6: Check the Surrounding Area
Inspect the area around the AC unit for any shrubs, branches, or plants that may obstruct airflow. Trim any foliage that is too close to the unit, maintaining a clearance of at least two feet to allow proper air circulation.
Step 7: Check the Drainage
Your AC unit has a drainage system to remove condensation. Ensure the drain line is clear and free from any blockages. Use a small wire or pipe cleaner to gently remove any debris that may have accumulated in the drainpipe.
Step 8: Reassemble and Restore the Power
After completing the cleaning process, carefully reassemble any parts that were removed. Ensure all screws and panels are securely in place. Finally, restore power to the AC unit by turning on the circuit breaker.
Regularly cleaning your outside AC unit is essential for its optimal performance and longevity. By following these expert guidelines, you can maintain proper airflow, prevent blockages, lower AC repair cost, and ensure your AC system operates efficiently. Remember, if you are uncomfortable performing these maintenance tasks yourself, it is always best to call your Austin Heating And Air company to handle the job.
Sometimes units become unfixable and even proper cleaning and maintenance may not be enough if that is the case and you live in the Austin area you might have to call an Austin AC repair company to diagnose the issue and repair it.
")
Jack Ollen - Author
Jack is an established writer and has been writing for magazines since 2004. The author loves talking about many different topics some of them are lifestyle, food, economics, and technology. Reach out to Josh if you have a great content idea.